On their website DxO claim that DxO PureRaw offers simply better raw files!
Do you remember, back in the day, you often got a CD with free software when you bought some photography magazines.
Well, that was how I discovered DxO Optics Pro – back then it was version 7 – and I have been a DxO user ever since then.
Today DxO PhotoLab 4 is at the heart of my workflow, and I use it in conjunction with the Nik Collection, also now from the DxO stable.
DxO PhotoLab 4 already has great noise reduction capabilities built in – including DeepPRIME – so I was a little surprised when DxO PureRAW was released a couple of months ago.
Is it a replacement for Photolab 4? As it turns out no it isn’t.
On their website DxO state that PureRAW is designed to give you “Simply better RAW files…Enhance your RAW files to open up even more possibilities with Adobe Photoshop and Lightroom.”
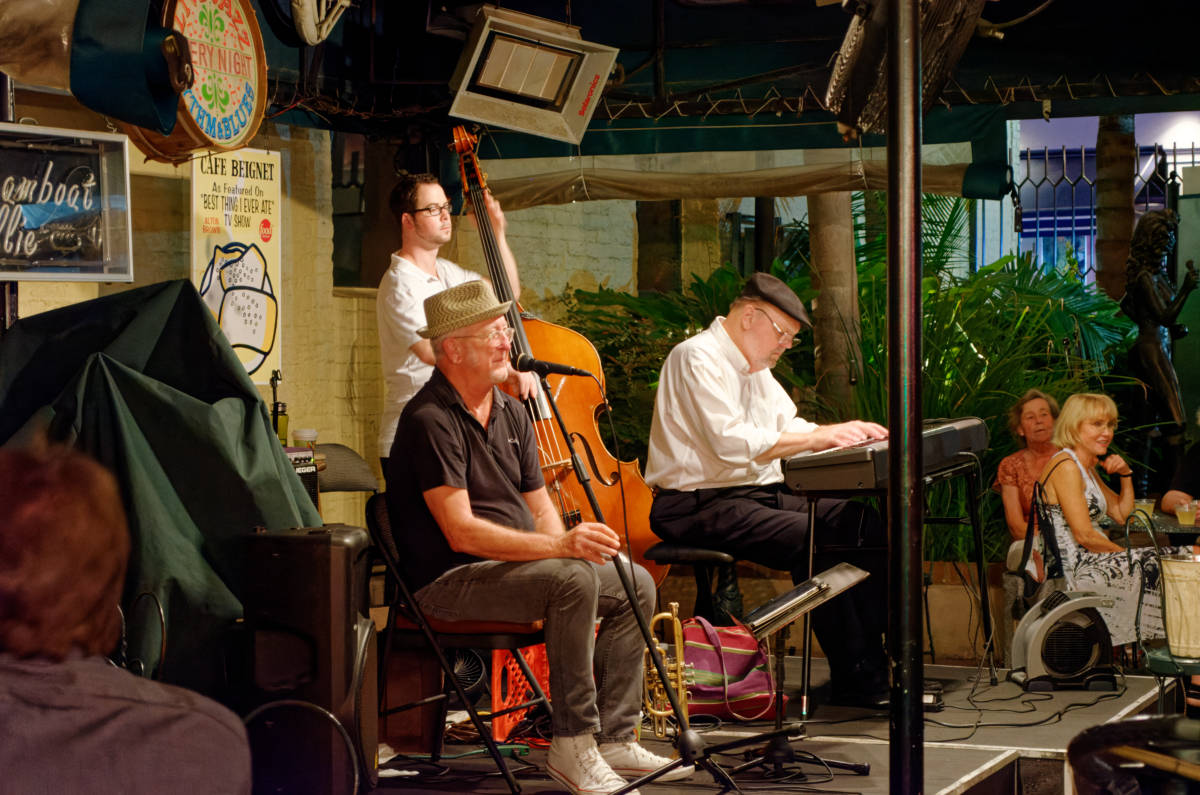
Remembering that I had some very noisy images, which I often thought of as non-keepers, taken in New Orleans in 2014, I thought I’d give PureRAW a bit of a test run using the downloaded trial version which is fully functional for 30 days.
Take a look at the results below. They are screenshots of the View Results post-processing preview screen of PureRAW at 100% crop.
The photographs were taken with my Nikon D5100, 18-55 lens at ISO 3200. The first two are taken at Cafe Beignet Bourbon, New Orleans, and the third image? Well – you can guess where…
DxO PureRAW – Before and After Comparisons


So – what did PureRAW actually do?
The first time I opened PureRAW and imported a photograph, the software identified the camera/lens combination used to take the picture, and then prompted me to download and save the appropriate DxO Optics Module (camera/lens combination).

Next I just clicked the Process Photos button, and chose one of the three noise reduction levels available – HQ, Prime or DeepPRIME – and DNG (or JPEG) output, then it was all automatic from there.
Optical corrections and lens sharpness based on the selected DxO Optics module were applied, and once the process was run, PureRAW asks What you want to do next?
The Export to… option allows you to further processing the image in your application of choice whether it be Photoshop, Affinity Photo, or any other similar package.
It really is that simple!

Pros and Cons of DxO PureRAW
Pros:
- Really top-notch noise reduction using AI technology;
- Automatically identifies the camera/lens combination in use and applies appropriate optics module;
- Automatically corrects lens distortion and sharpness based on DxO Optics Modules;
- Super simple, easy to use interface;
- Non-subscription.
Cons:
- Adds another step to your workflow;
- DeepPRIME processing is very slow – up to 3 minutes on my elderly Mac;
- DNG output files over double original RAW files size;
- Doesn’t handle Fujifilm X-Trans RAF files.
Give DxO PureRAW a run yourself. Download a free 30 day trial from DxO’s website.