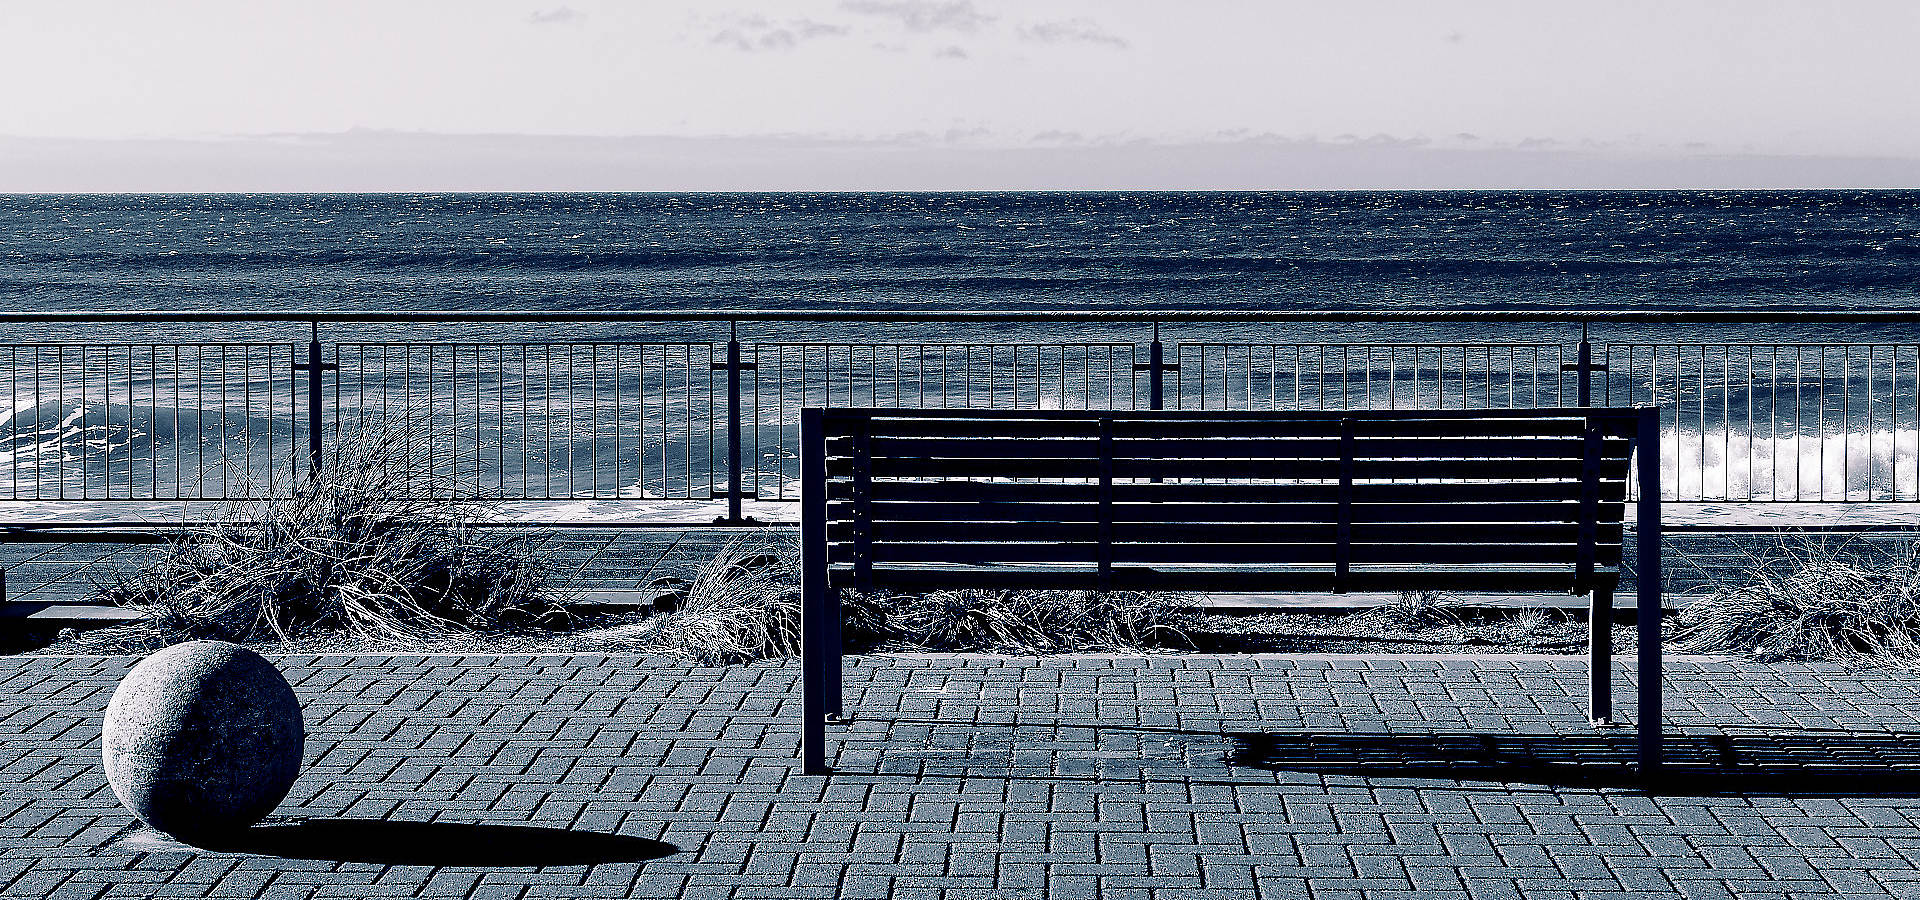
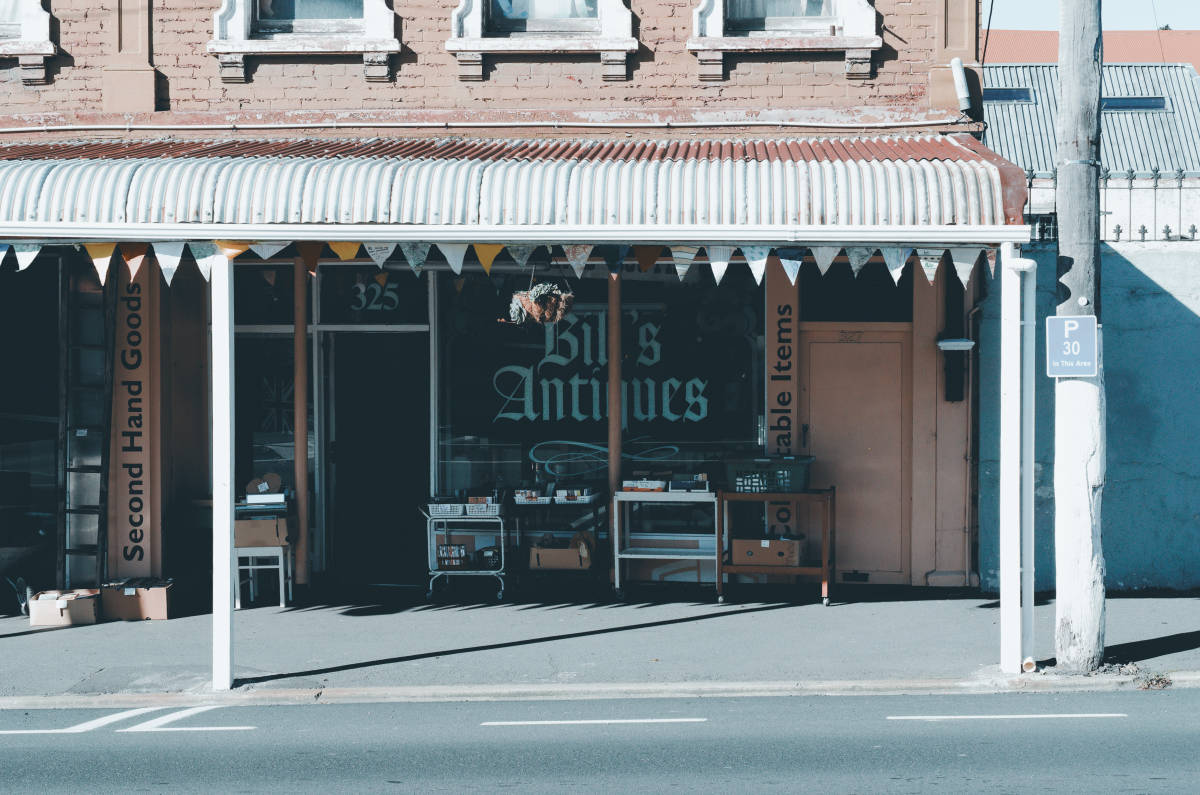
As I haven’t posted any stories for a while, I decided to spend some time “under the hood” of Photolab 7 so to speak to lean a little bit more about presets and LUTs. What’s the difference between a preset and a LUT; when to use them and when not to use them; how to create and save presets, and so on.
15 Fine Art Luts DxO From DxO
Then, out of the blue, an email from DxO arrived in my inbox and it said – Get 15 fine art LUTs absolutely FREE when you buy DxO PhotoLab7.6.
As I already have Photolab 7 I checked for an update and lo-and-behold, my version updated to v7.6 – complete with the promised 15 fine art LUTs.
Just when I thought DxO Photolab couldn’t get any better – it did!
So the presets part of my planned story was put on the back-burner so I could check out this latest update with the LUTs.
I have to be honest and say that I have never really understood what LUTs actually do, so have never used them. I tend to use one of the many presets in Photolab or the Nik Collection as starter points for my photos.
But thank goodness for Google who unearthed this for me from Amateur Photographer – LUTs stands for Look Up Tables, and a LUT (pronounced loot) is basically a conversion profile that takes a colour value in your original file, looks it up in a table and returns a new colour value.
I learned two things there:
- It’s loot not LUT;
- A LUT is a tone and colour adjustment only.
Rather than get bogged down with the ins and outs of how a LUT actually works from a technical point of view – there are hordes of mathematical formulae involved I believe – let’s just take a look at a few examples of the Photolab 7 standard LUTs along with some of the new Premium LUTs in v7.6.
And one thing to bear in mind is that the Working Color Space must be set to DxO Wide Gamut in the drop down Version selector before LUTs can be applied.
I have – as you can see – taken a single image and applied a different Photolab 7 LUT in each case.
The first three below are using the standard LUTs that came with PL7 prior to version 7.6.
Now below is a selection of the new premium “fine art” LUTs with the latest version of Photolab 7.6
Within Photolab 7.6 there are 32 LUTs to choose from, but it is easy to import third party LUTs in the .cube format.
Free and paid-for LUTs are available for download from a wide variety of places on the web.
On1.com and Lutify me offer a range of free LUTs.
Some of the LUT packages you download may be zipped-up, so extract them and look for files with the .cube format. These can be imported into PL7, but as far as I can work out they don’t “live” inside Photolab but are instead brought into PL from the location in which you have saved/stored them.
To use imported LUTs select Custom in the LUT Grading/Type field, then in the LUT file dropdown, select Import, navigate to where your third party LUTs are stored, and select the .cube file you want.
In many cases the differences between different LUTs can be quite subtle (excepting changing from color to black and white of course), but LUTs give you the opportunity to create your own unique look and style.
Bear in mind that once a LUT is applied to a photo, it need not necessarily be your final result.
Additional adjustments can be made on top of the LUTified photo within Photolab to fine tune the image to your personal satisfaction.
It can also be exported into, for instance, any one of the Nik collection packages for further enhancement.
Or you could also save your final settings, with the LUT included, as a Photolab preset.
The possibilities are endless!
One final word of warning.
The “timeless” LUT you find in Photolab 7 is not (necessarily) the same as other LUTs callede “timeless”.
Here for example is On1 Photo RAW’s Timeless LUT applied to the same image.
Compare it with the first image at the top of this story.

Happy LUTting!


