Here's one way to make dull photographs pop

If you’re like me you’ve often come back from a walk or a photoshoot and found that some of the photos you’ve made are dull, flat and lifeless. No doubt you have your own techniques on how to make dull photographs pop. But up until now I’ve never bothered because I am a bit of a lazy photographer.
I rarely – if ever – carry my camera with me when walking our three dogs, and a couple of mornings ago when I took them through Queens Park was no exception.
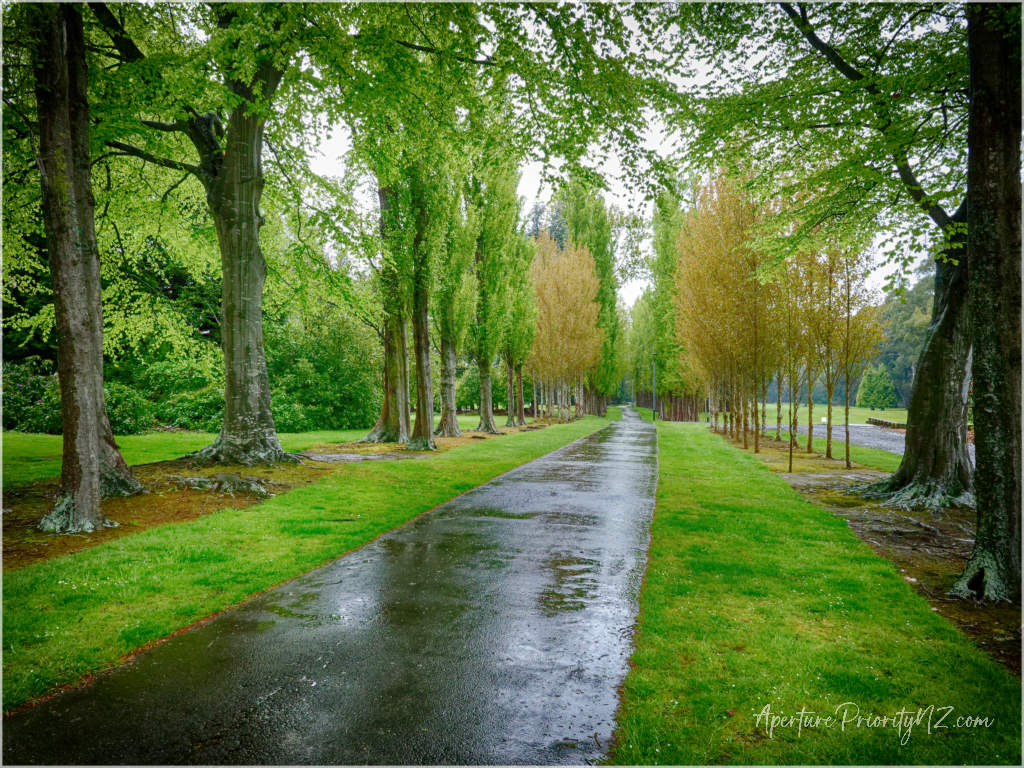
It was a grey, spring rainy day. In fact it was a grey, spring downpour day, but in spite of a canvas of grey above, the light was such that everything in the park looked so fresh and vibrant with raindrops reflecting off almost every surface. I decided on that basis to wander back through the park a little later in the day to capture the vibrancy and the colours of spring.
So, two hours later, camera in hand, I walked the same paths I had done earlier, only to find that the light had changed totally and the vibrancy of the park’s colours had virtually gone. The grey overcast looked the same, and the rain was still falling, but I guess the angle of the sun’s movement through the sky above the grey overcast was what made the difference.
I made a few photographs but was disappointed with them when I reviewed them upon getting home. They were dull and lifeless; flat and boring, so I set about working out how to make dull photographs pop!
How to make dull photographs pop using DxO PhotoLab and the Nik Collection...
...my way...
I know that Google search on how to make dull photographs pop will throw up many, many examples, and for that reason I don’t claim that this is the best way to do it.
I also understand that, due to the subjective nature of photography, one person’s “pop” is another persons “zing”.
Anyway, this is merely my method to make dull photographs pop.
I remember reading somewhere, a long time ago, that by creating over-exposed and under-exposed copies of a photo, and then blending them with the original image, HDR techniques can be used to make dull photographs pop. This is the technique I used.
I use the AUTO ISO setting on my Lumix G95, so the dullish light had driven the ISO setting up to, and over ISO1000 in some instances resulting in noticeable noise in some photos when viewed at 100%.
Using a trial version of DxO PhotoLab 6 (…it’s fantastic!…) I first applied lens optical corrections, lens sharpness and noise reduction to each photograph.
For noise reduction I stuck to DxO’s PRIME setting as DeepPRIME and DeepPRIMEXD stress my system’s resources too much.
Next, I created three TIFF images, one at 0EV, another at +1.5EV, and the third at -1.5EV. These were exported to HDR Efex Pro and merged to create an HDR image using a the Deep 1 or the Deep 2 preset. In a couple of images I used Control Points to make very localized and minor adjustments before sending the resulting image back into Nik Colour Efex Pro for a final tweak, and addition of the border.
Watermarking and resizing were completed in PhotoLab.
I am very happy with the results shown in this gallery.
I also tried the same technique using Photomatix Pro and On1 RAW’s Merge To HDR feature.
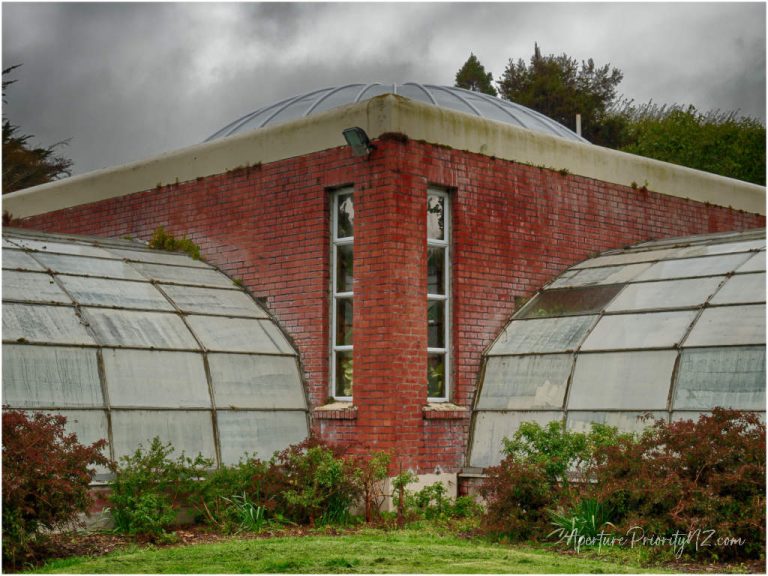
The Winter Gardens building was given some pop using Photomatix Pro’s Architecture presets.
The lampstand was created using On1 Photo RAW 2022
While the same, or similar, results can be achieved using DxO, Photomatix or On1, I like the speed and ease with which I can achieve results I like using the DxO/Nik workflow I use.
For that read…I love the Nik presets…


